How it works
It prompts your end-users to perform the following actions to connect their financial accounts:- Provide consent to share their financial data.
- Select their financial institution.
- Enter their username and password to log in with their financial institution.
- Answer a multi-factor authentication (MFA) question if their financial institution requires them to.
- Select the account they want to share.
- If the login is successful, Flinks provides you with a
loginId. - Send the
loginIdto the server that’s hosting your website/app. - Your server passes the
loginIdto Flinks servers, and we exchange it for arequestId. - The
requestIdallows you to start securely receiving the customer’s data.
What your customers will see
When you use Flinks Connect, this is what your customers will see: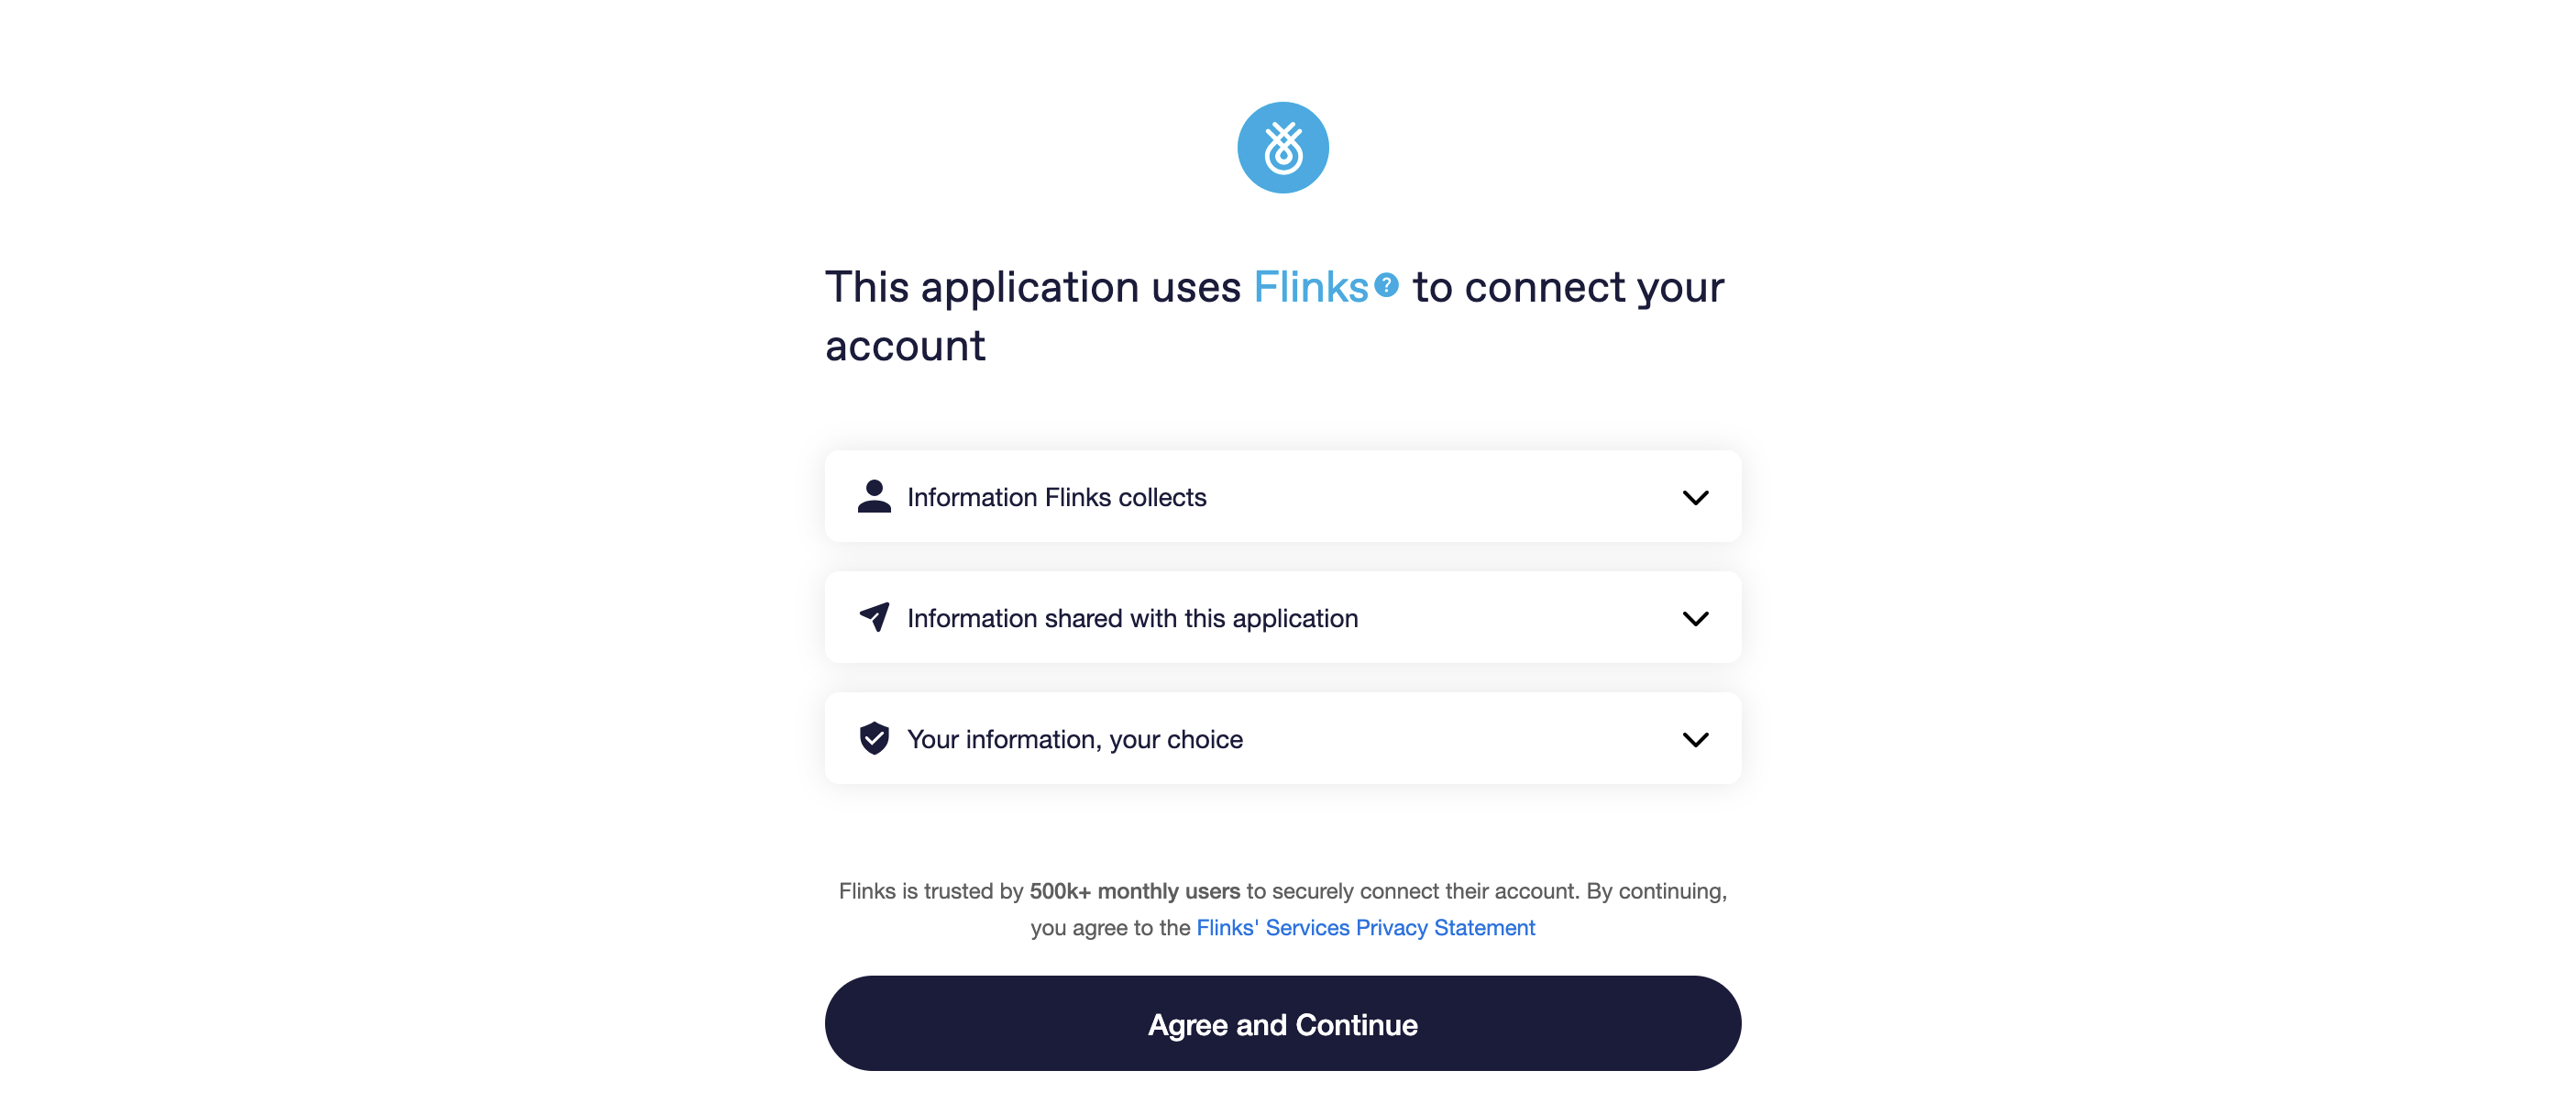
UX best practices
A few quick wins to maximize conversion and build trust with your customers:- Prompt at the right moment: Ask users to connect in the final steps of your onboarding or application flow, once they’re already engaged. It feels like the natural next step and reduces drop-off.
- Show your brand: Use the
customerNameparameter to display your company name on the Consent, Login, and Success screens. This builds trust and helps customers understand who they’re sharing data with. - Enable consent: Set
consentEnable=trueto show a clear data-sharing consent screen before customers enter their credentials. This improves transparency and user confidence.