Onboard more users by offering to upload bank statements alongside standard bank linking. Flinks document processing and authentication is a feature that you can enable in Flinks Connect and in your Flinks Dashboard to process, authenticate, and extract data from bank statements. If you’re already using Flinks, you’ll get the data in the same format you are used to via the Flinks Dashboard or API. Gif showing a user uploading bank statements in Flinks Connect. Use this feature if you want to:
  • Increase your application volume and reduce drop-off by giving users a faster, simpler way to share their financial data.
  • Save time and costs associated with manually reviewing statements.
  • Automate your current document-processing flows.
  • Add an extra layer of security that includes robust fraud detection with actionable verdicts —Trust, Normal, Warning, or High Risk documents, allowing you to be confident in the data.

How it works

Flinks offers two ways to enable document uploads in your flow —Primary or only as a Fallback. However, you can also send your users a direct link to an upload-only flow. You must choose one of these configurations. When set as the Primary option, users will see the choice to either link their bank account or upload bank statements right after selecting their institution. Additionally, the fallback logic (e.g., if login fails or the institution isn’t listed) is also enabled under the Primary configuration. This ensures that users can always upload statements if the direct bank connection doesn’t work. In other words, the “fallback” behaviour is built into the Primary setting. Series of images showing a user going through the primary upload option. With the Primary option, the “Select a connection method” screen is enabled.

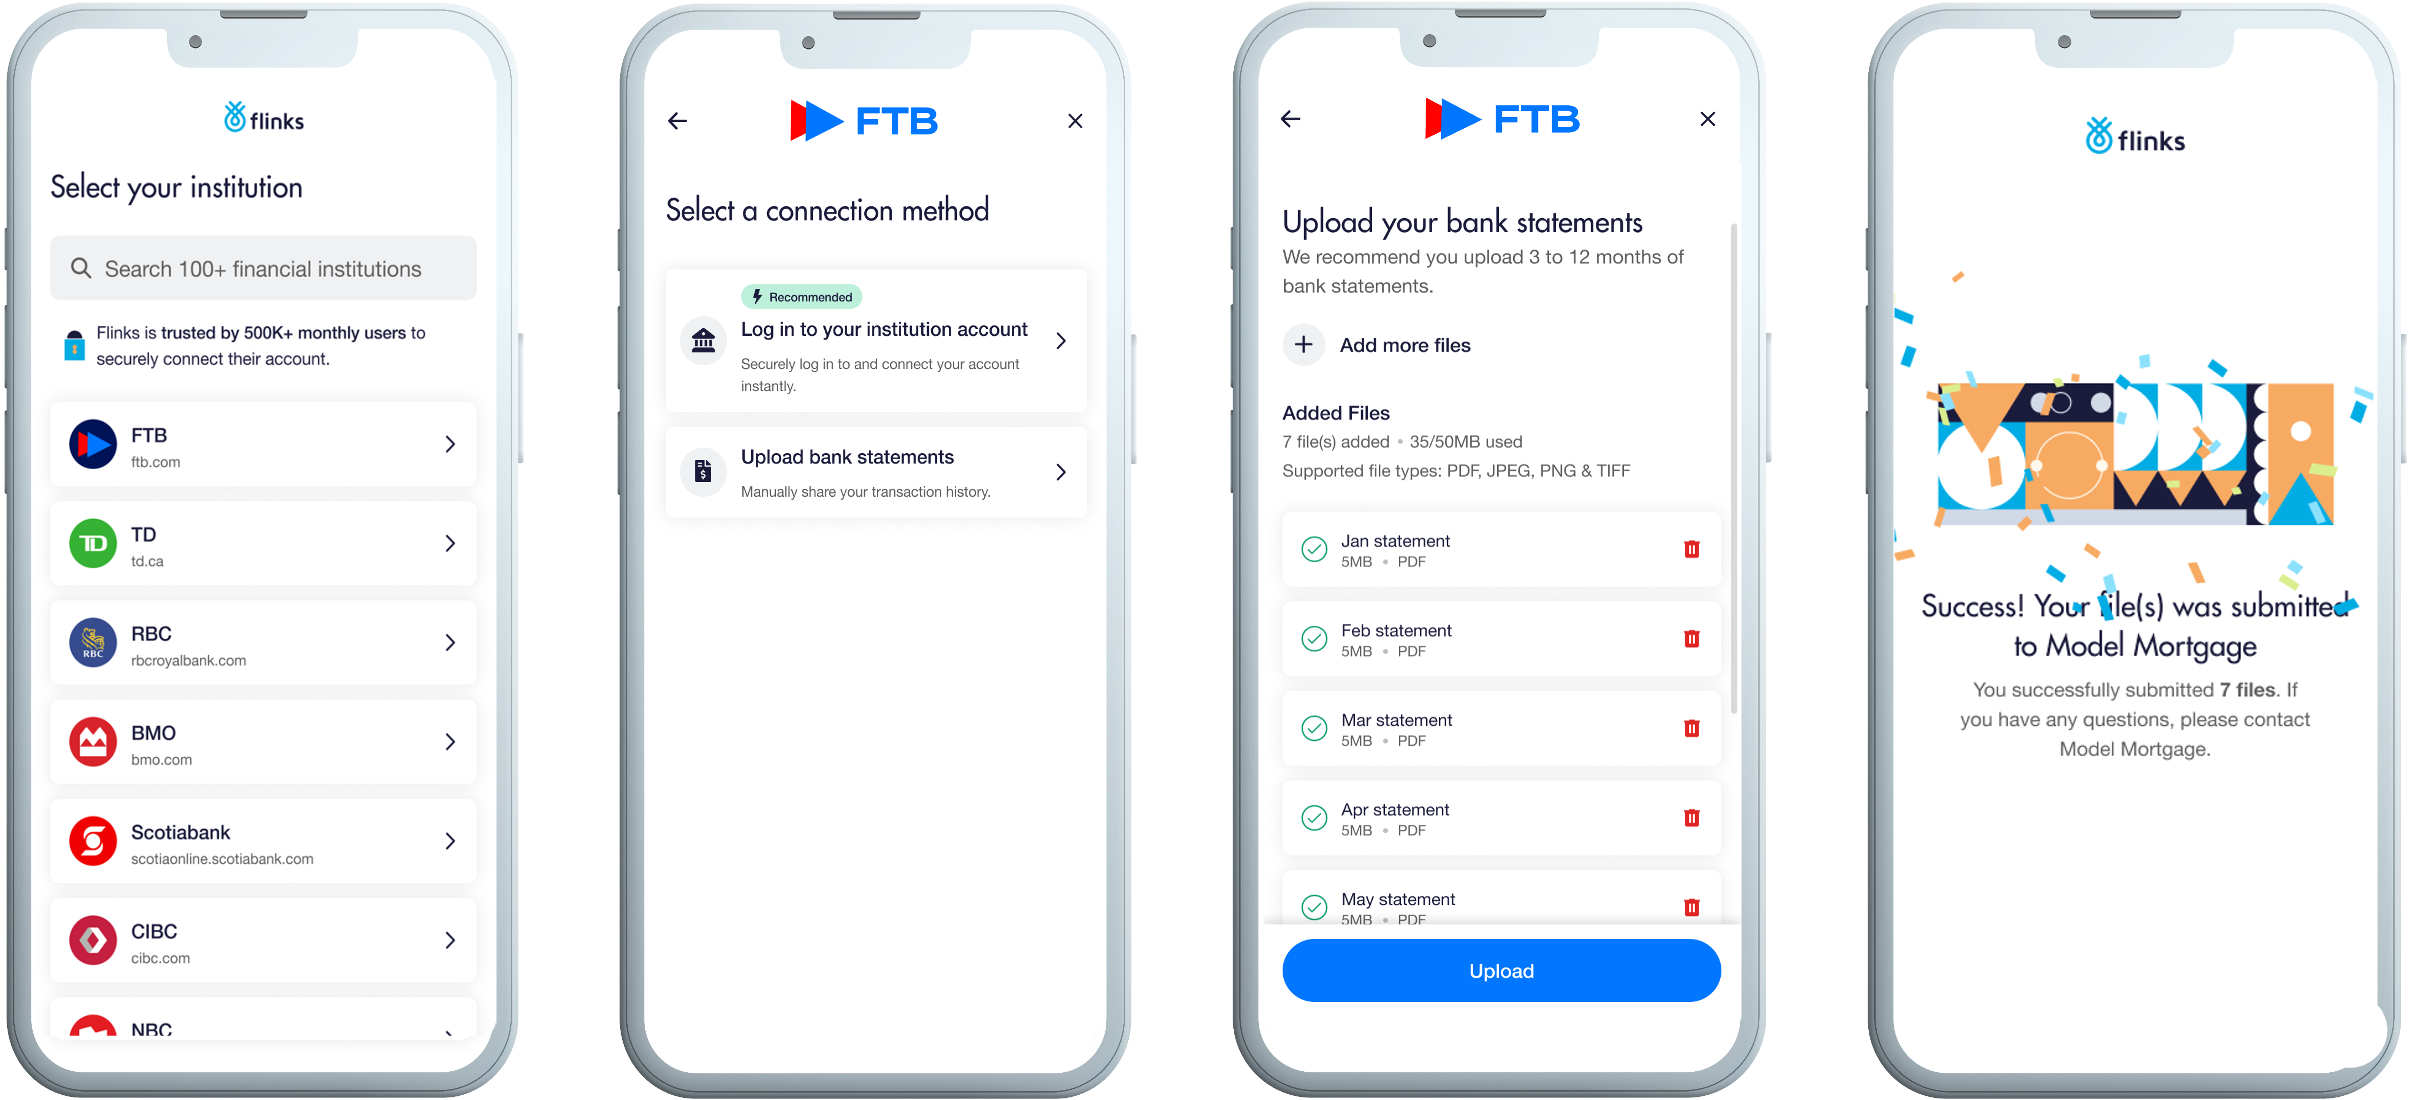
Upload files as a Fallback option

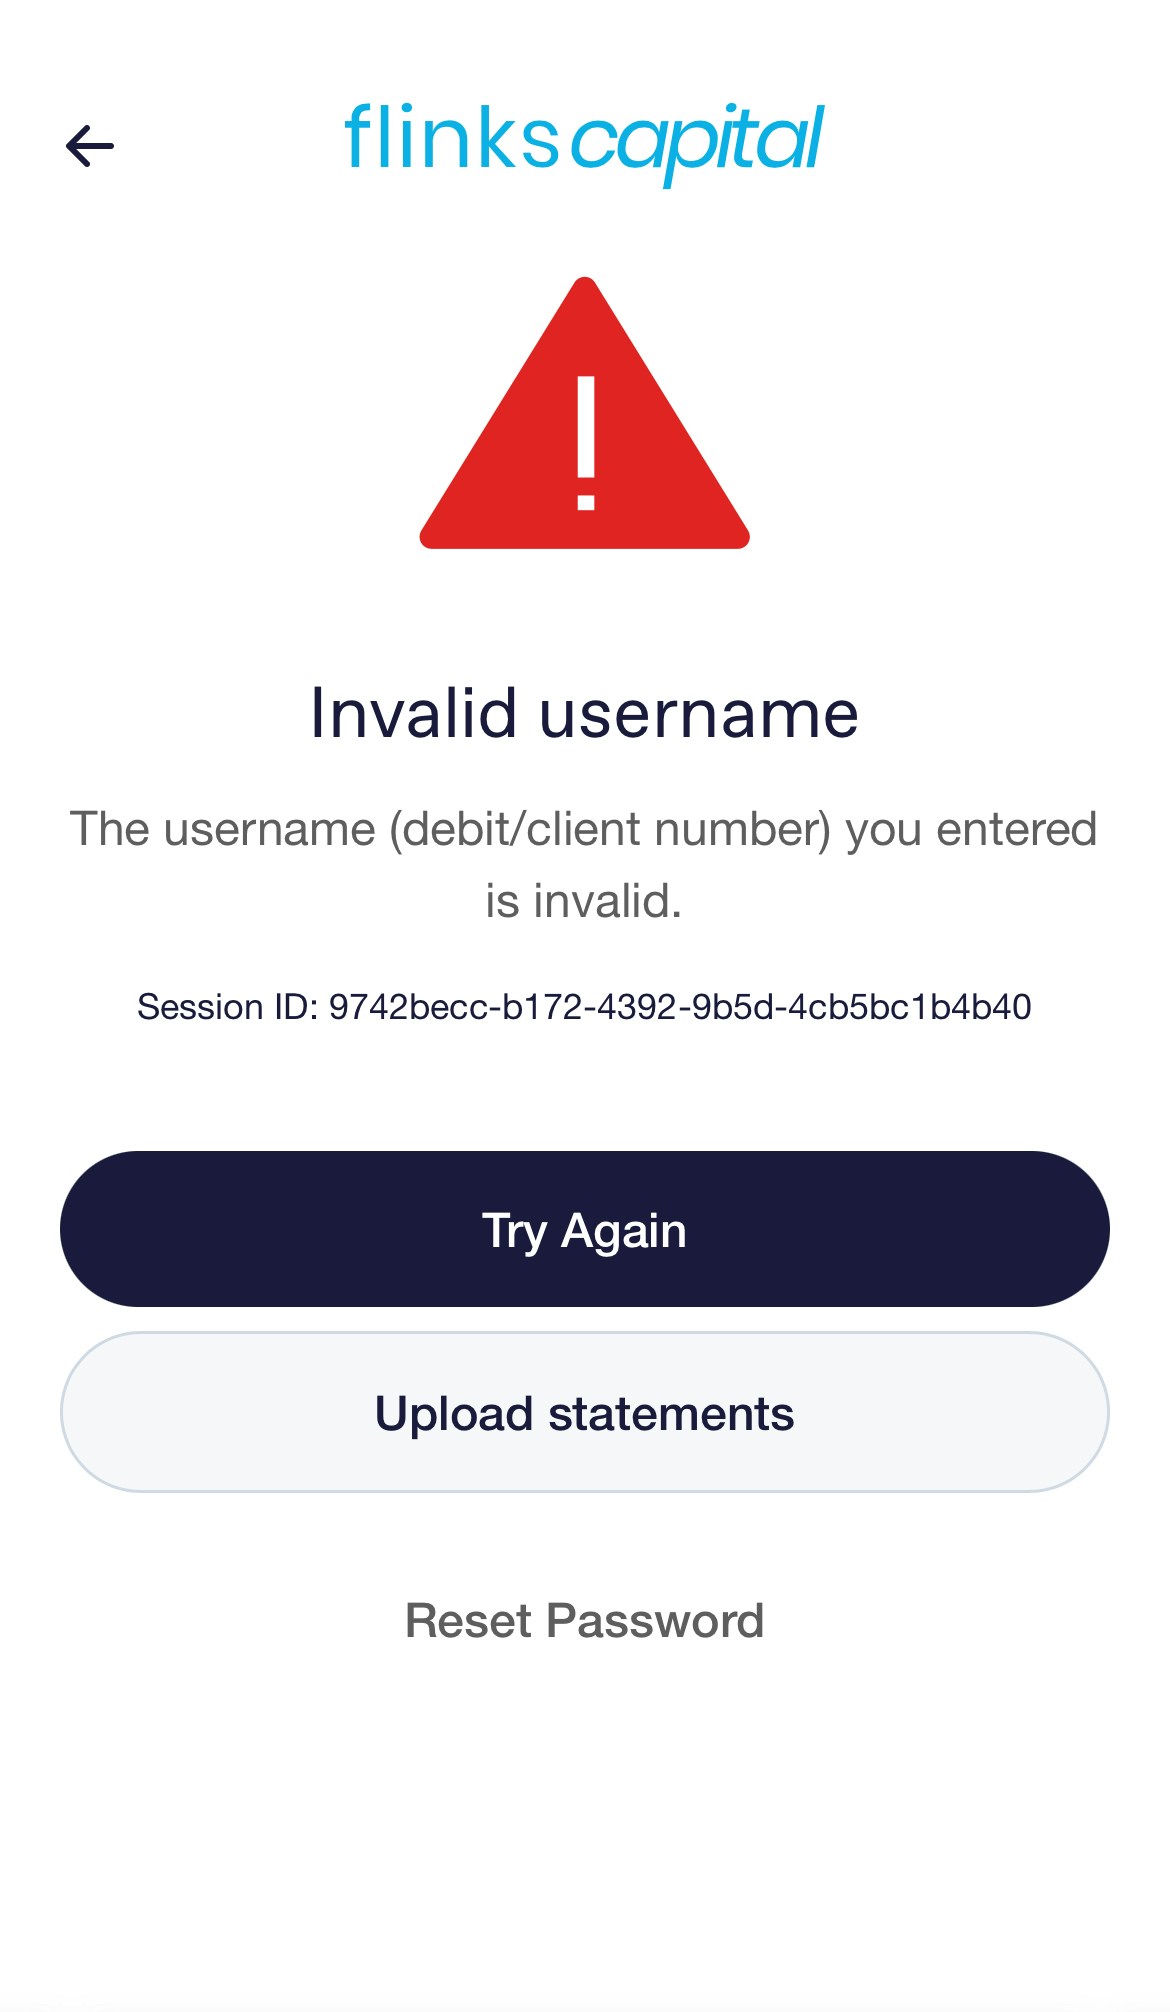
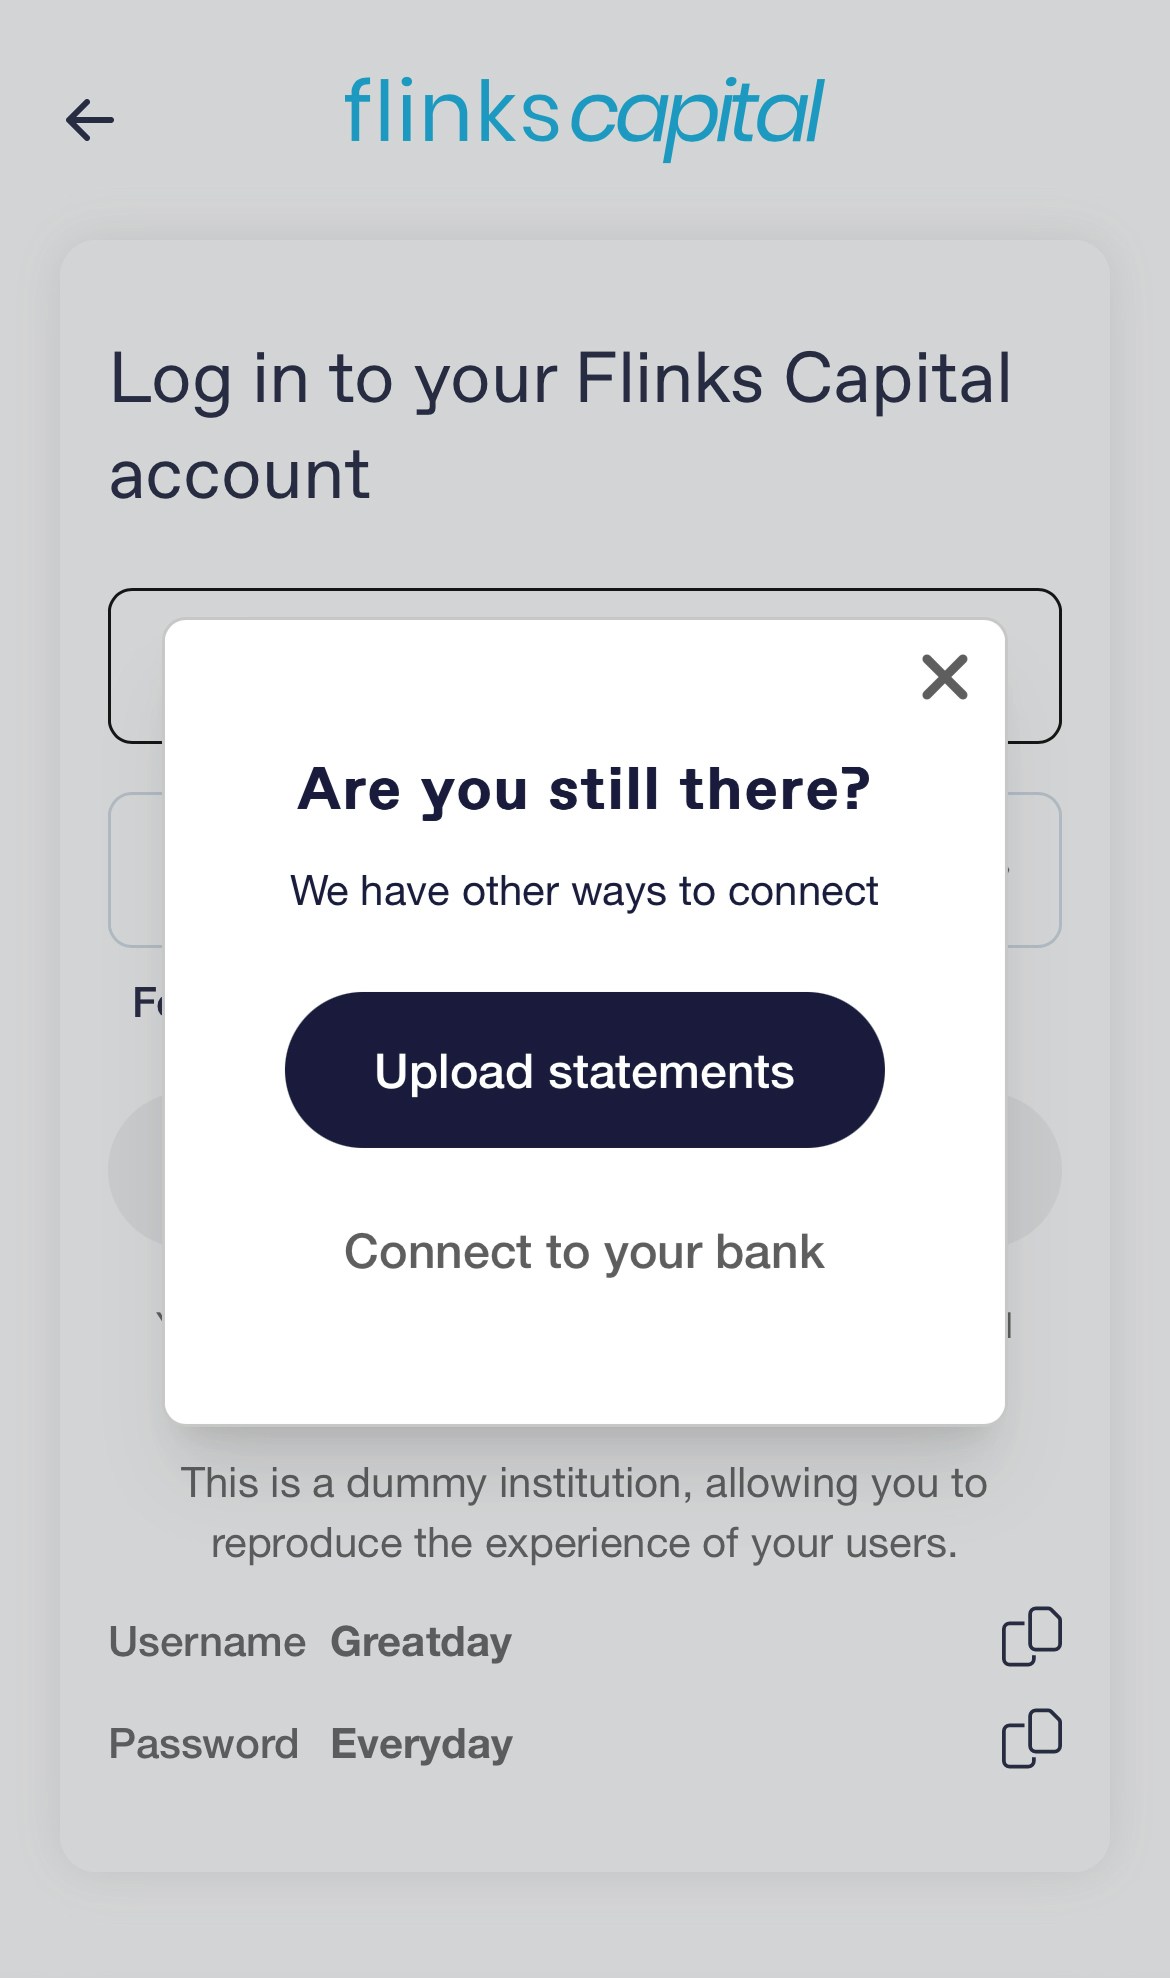
With Fallback enabled, the “connection method” screen is disabled, and users are first required to attempt to link their bank. If they encounter an issue—such as a failed login, wrong credentials, inactivity, or an unlisted institution—only then does the option to upload bank statements appear. The user can’t find their Institution when searching in the institution list.
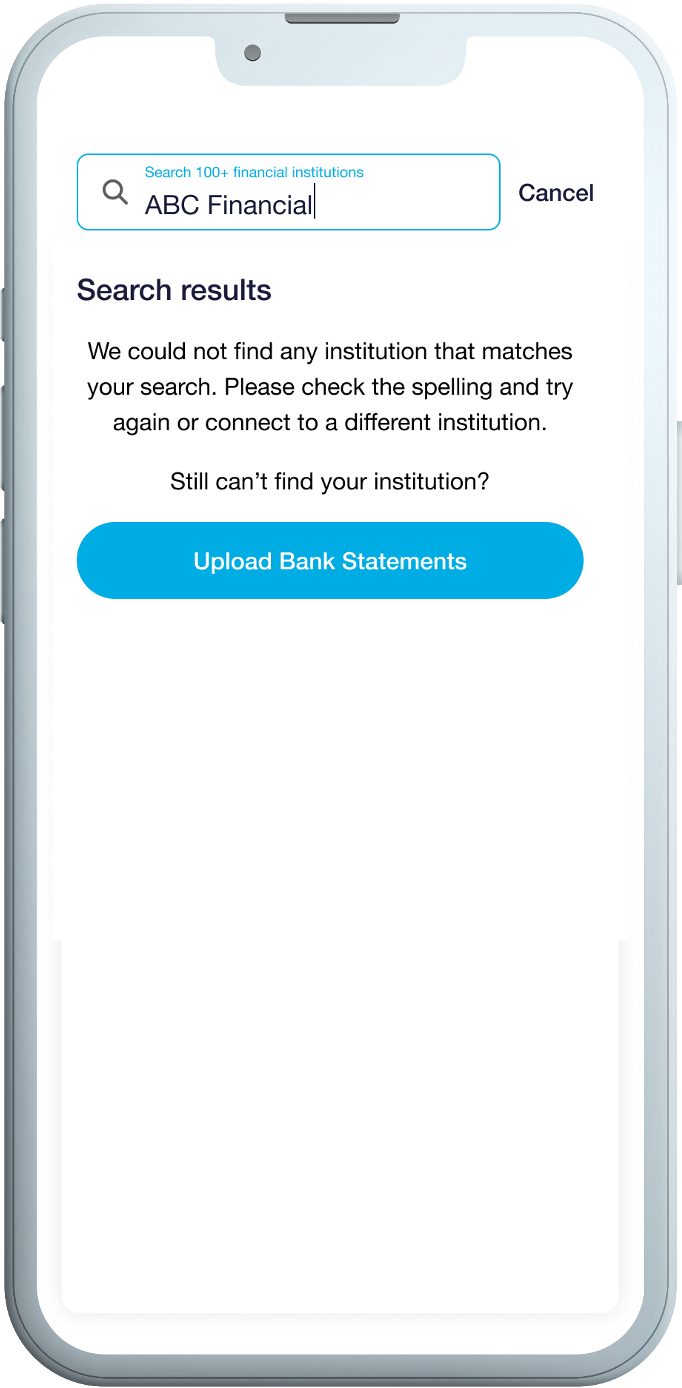
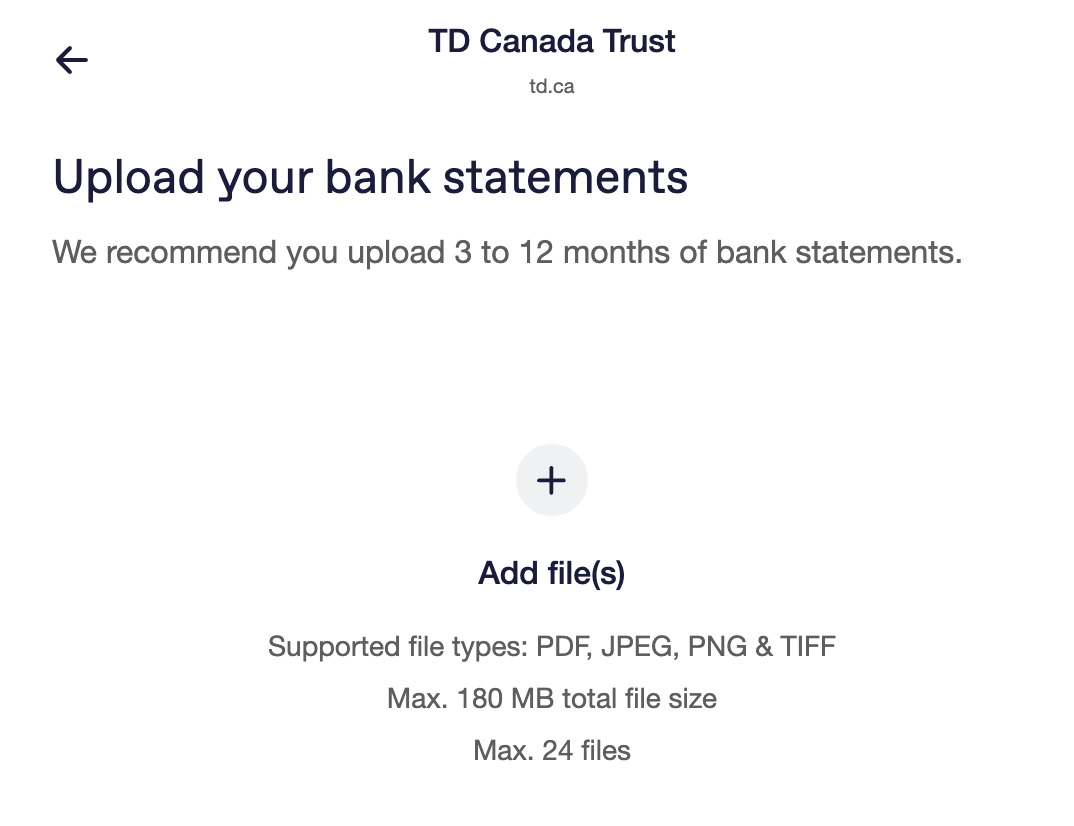
 Image showing the user going through the fallback option. User searches for their institution, but it does not appear, so the button to upload bank statements is made available. Upload statements when the user doesn’t remember their username or password. Image depicting the fallback option. User types in an invalid username, so the option to upload bank statements appears on the error screen. With fallback enabled, your users will also see the option to upload after inactivity. Image showing fallback option. User times out on the Flinks Connect login screen, so a pop-up appears asking if the user would like to upload bank statements or connect to their bank. By adding /Upload to your Flinks Connect URL, you can also send your users to an upload-only flow. By using parameters in Flinks Connect, you can customize the wording to specify how many bank statements you want to collect from users. Image showing the upload-only option screen. The page shows the option to upload bank statements, as well as a back button. No other options are available on this page.

What can I upload?

For more information on the files that you can upload to Flinks Connect or are in your Flinks Dashboard, review the following table:
AREASUPPORTED SETTINGS
CountriesThis feature is available in Canada and the United States.
Document TypesThis feature can process bank statements for chequing, savings, and credit cards, as well as void cheques (and supports fraud detection for all).
File ExtensionsThis feature can process PDF, JPEG, PNG, and TIFF files.
File SizesThis feature requires that the file you upload is 180 MB or smaller, or 20 MB per file.
Number of FilesThis feature allows you to upload a maximum of 24 files at a time.